Introduction
Ever watched your favorite streamer and wondered, “Why does their background look so clean and aesthetic?”
A professional-looking streaming background doesn’t require expensive studio gear. It’s all about smart lighting, creative setup, and personal style.
Whether you’re streaming on Twitch, YouTube, or Kick — your background silently tells viewers who you are. And the good news? You can make it look amazing without spending much.
Let’s build your perfect streaming background, step by step.
Why Matters How to Make a Streaming Background
Your background is the visual personality of your channel. Viewers subconsciously judge your setup in the first few seconds — even before you speak!
Here’s why it matters:
- First impression: A clean, organized background builds credibility.
- Branding: Your space reflects your niche — cozy gamer, minimalist techie, or creative artist.
- Viewer retention: Visually pleasant setups keep people watching longer.
A great background = better first impression + more watch time.
Common Mistakes How to Make a Streaming Background
Before we start designing, let’s quickly fix what not to do:
Cluttered room: Visible mess kills focus — tidy up your frame.
Overpowering lights: Too many RGB lights can make your camera struggle with colors.
Flat background: Standing too close to a wall flattens your frame — keep some distance for depth.
Distracting movement: Ceiling fans, reflections, or pets behind you can break immersion.
Now that you know the pitfalls, let’s start crafting your background like a pro.
Step-by-Step Guide: How to Make a Streaming Background
1. Choose Your How to Make a Streaming Background Color or Theme
Your theme sets the tone of your stream.
| Style | Description | Color Ideas |
|---|---|---|
| Gamer | Dynamic, tech-vibe, RGB lights | Black, blue, purple |
| Podcaster | Clean, focused, professional | Gray, white, navy |
| Cozy / Aesthetic | Calm, personal | Beige, warm yellow, pastel tones |
Pro Tip: Use complementary colors — like blue & orange — for depth and balance.
If you have a plain wall, you can add a fabric backdrop, poster, or LED strip to add life to it.
2. Lighting Setup (Cheap Yet Effective)
Lighting is everything. Even a budget webcam looks 3x better with good lighting.
Basic budget lighting setup:
- Ring light (12” LED): Place it slightly above eye level.
- Desk lamp: Bounce it off the wall for soft fill light.
- LED strips: Add ambient color to background edges.
Tip: You can find decent ring lights on Amazon under $25.
3. Add Personality (Posters, LED Lights, Plants, etc.)
Make your space yours.
Add elements that match your niche:
- Gamers: RGB lights, controller stands, figurines.
- Artists: Paintings, sketches, colorful lighting.
- Tech reviewers: Minimal shelves, neutral tones, product boxes.
Even one plant or lamp can add warmth and depth.
Rule of thumb: 70% clean space + 30% personal touch.
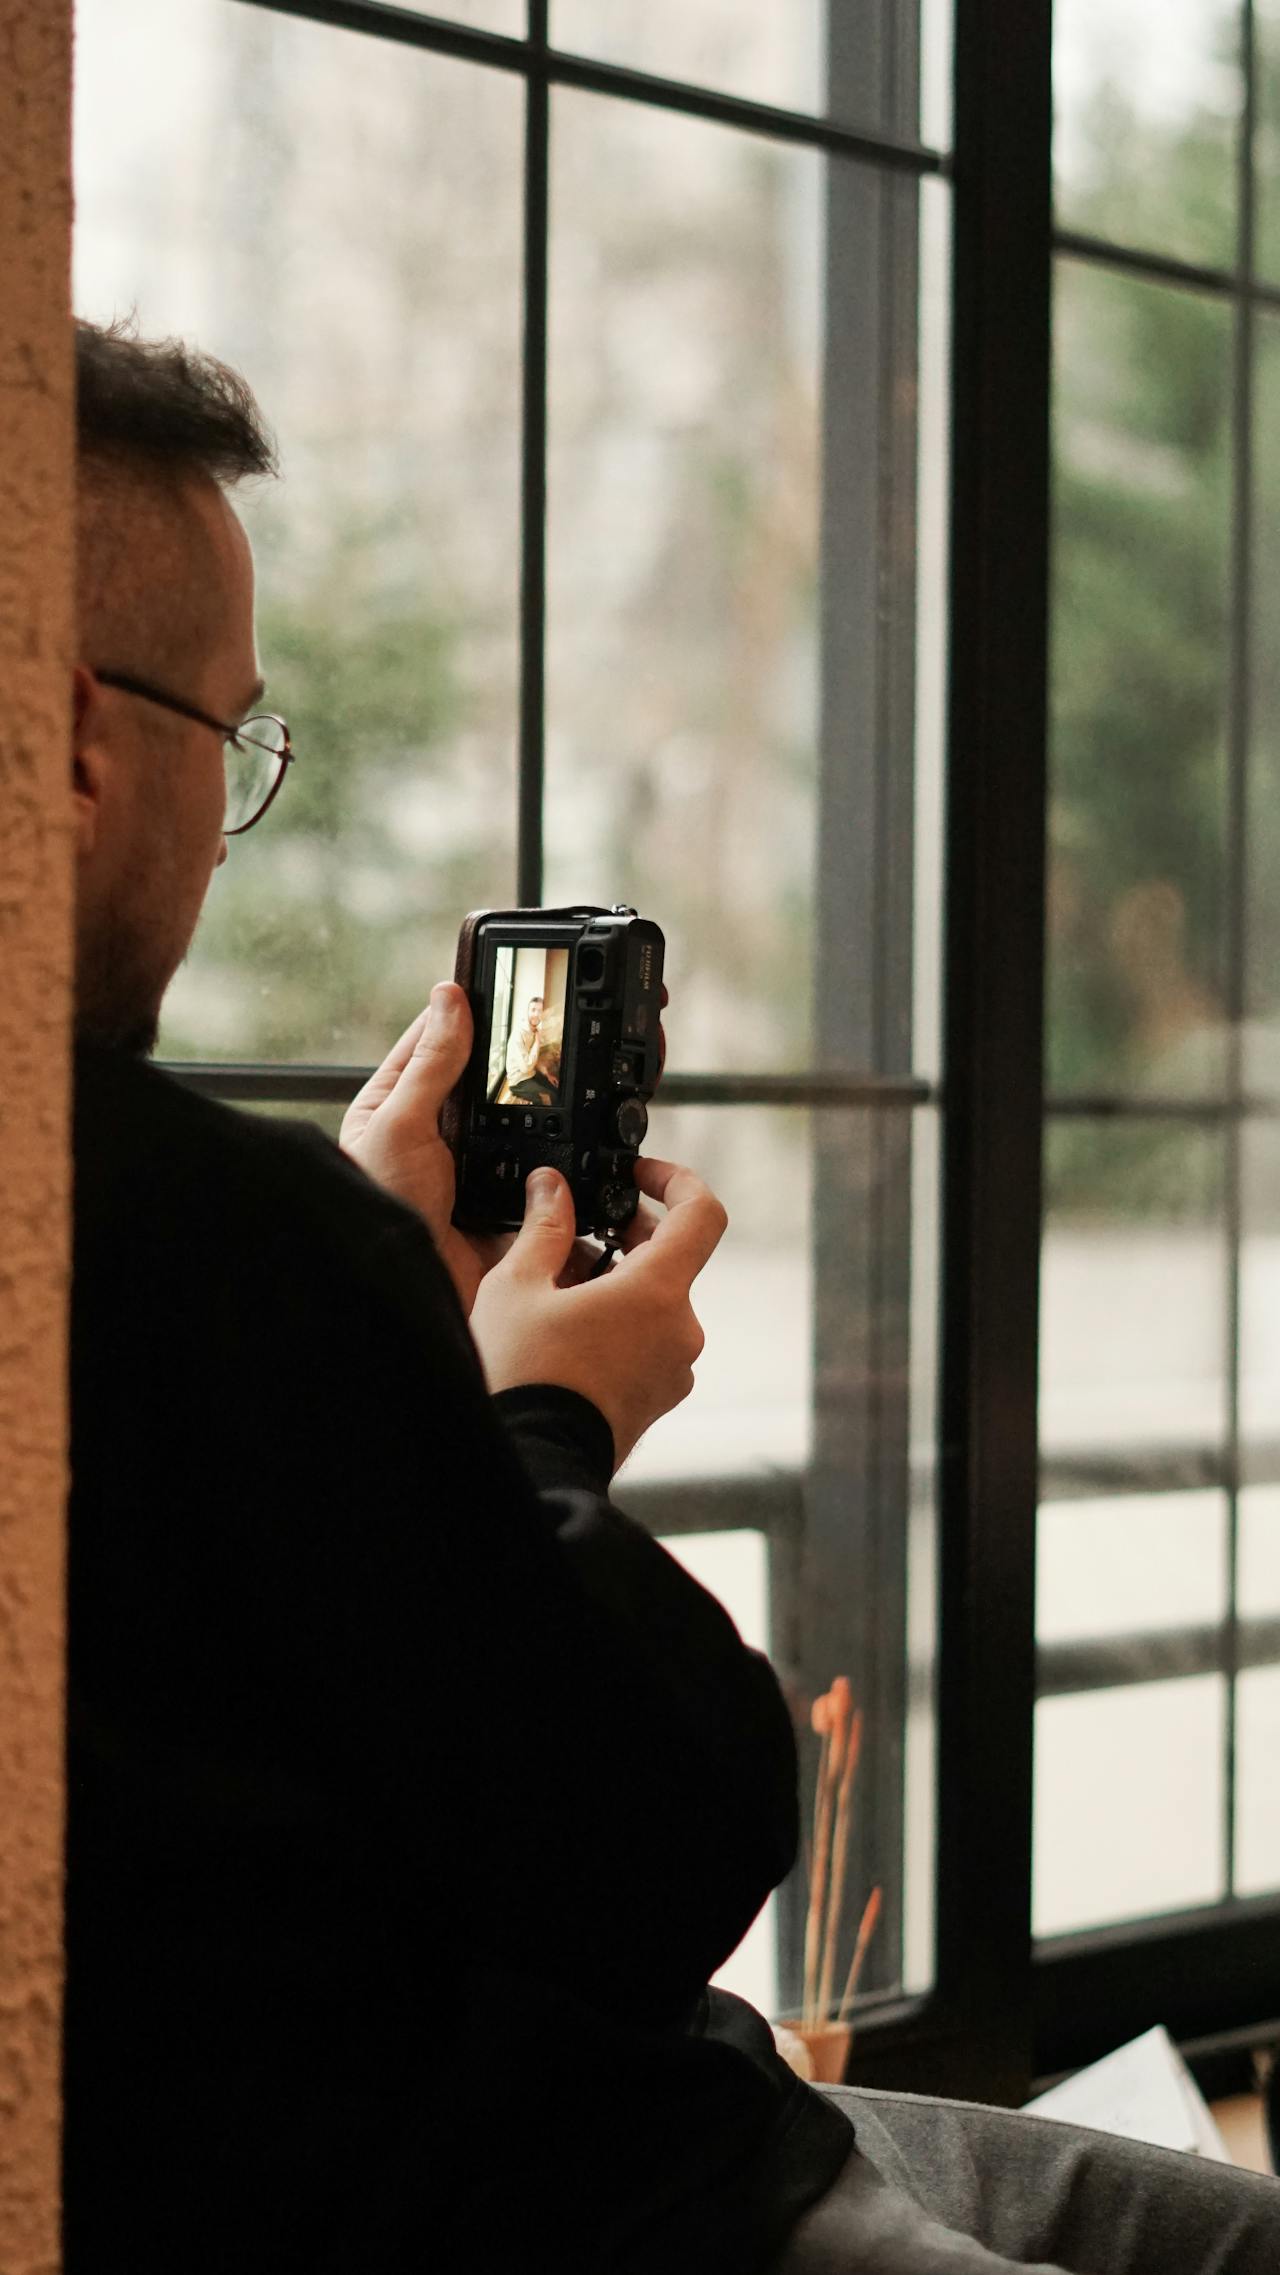
4. Adjust Camera Framing
You don’t need a cinematic camera to look good — just the right framing.
Tips:
- Keep your eyes at top-third of the frame.
- Leave 2–3 inches of headroom.
- Slightly angle your camera (not perfectly flat).
- Maintain 2–3 feet distance from background to create blur (depth).
Use OBS filters or webcam software to tweak brightness, contrast, and sharpness.
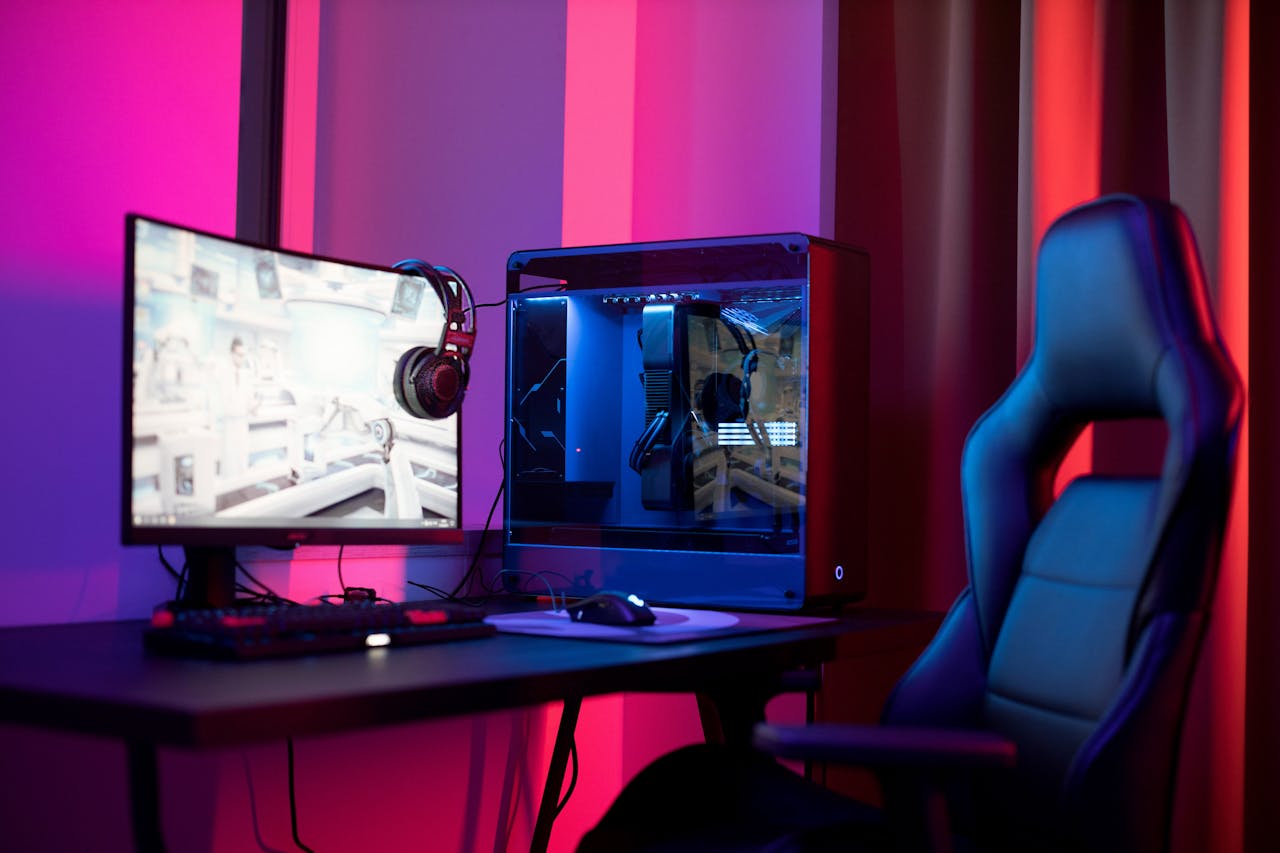
5. Example Setups (Visual Inspiration)
| Type | Look | Description |
|---|---|---|
| Beginner Setup (<$50) | Clean wall + ring light + one LED strip | Focused, budget-friendly |
| Gamer Setup ($100–$200) | RGB lights, posters, shelves | Energetic, immersive |
| Minimalist Setup ($200–$400) | Soft light, neutral tones, framed art | Professional & calm |
You can easily start with Beginner setup, and upgrade gradually.
6. Optional Tools & Gear (Add Later)
Once your content grows, consider these upgrades:
- Softbox lighting kit – even softer light.
- RGB backlight panels – customizable colors.
- Acoustic panels – reduce echo & look stylish.
- Camera arm mount – for perfect angles.
(Affiliate links can go here later once your site gets approved for Amazon Associates.)
Conclusion — Small Setup, Big Impact
You don’t need a fancy studio or $1,000 gear.
Just smart lighting, a clean frame, and a bit of personality — and your stream will instantly look professional.
Start with what you have. Upgrade slowly. What matters most is consistency and creativity, not perfection.
Remember: every big streamer started with a simple background — what made them stand out was presentation.
Q&A Section
Q1. How much does a good streaming background cost?
Anywhere from $30 to $200, depending on lighting and decor.
Q2. Can I use a virtual background?
Yes, but use a proper green screen and even lighting to avoid pixelation.
Q3. What’s the best color for a streaming background?
Depends on your niche — cool colors (blue/purple) for gaming, warm tones for cozy or creative vibes.
Q4. How do I stop shadows behind me?
Use soft, diffused lighting and avoid sitting too close to walls